Google Pay™ Direct Integration
Introduction
The Google Pay™ enables fast, simple checkout on your website, and gives you convenient access to hundreds of millions of cards saved to Google Accounts worldwide. To provide a better user experience to your Google Pay™ users.
MyFatoorah provides support to the direct integration that allows you to handle your front-end interactions completely, this gives you the desired flexibility. However, this also means that you need to handle a few interactions with Google in order to support Google Pay™.
Google Pay™ Button

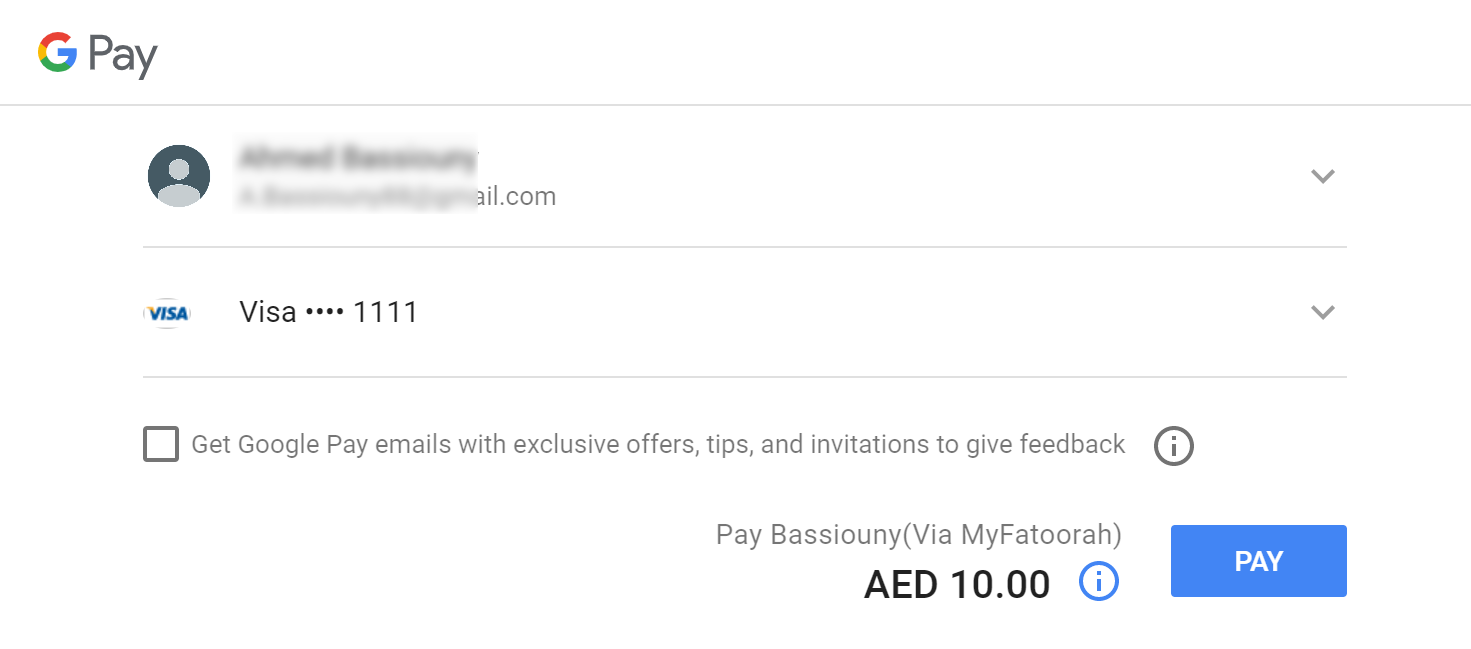
Google Pay™ Payment Sheet Page
MyFatoorah Prerequists
- Google Pay™ to be enabled to your account (Contact your Account Manager for Activation).
Google Criteria: Must be Applied
- Web integration developer documentation.
- Brand Guidelines.
- Integration checklist.
- Your website must include a link to the Google Pay™ Google Pay™ terms of services. and communicate that these terms apply whenever the Google Pay™ service is offered.
- You will need To contact Google via the Business Console so that they can add your app to their system for production use and to get the value of merchantId.
Direct Integration: How it works
The following Events and functions are needed to be handled in integration with the Google Pay™ API:
- isReadyToPay: This function is to determine a user's ability to return a form of payment from the Google Pay™ API.
- onPaymentAuthorized Event: This method is called when a payment is authorized in the payment sheet.
You need to call InitiateSession Endpoint when loading your checkout page to get the SessionId and CountryCode to be used in your configuration. You need to do this for each payment separately. SessionId is valid for only one payment.
The endpoint on Swagger is Payment_InitiateSession
{
  "IsSuccess": true,
  "Message": "Initiated Successfully!",
  "ValidationErrors": null,
  "Data": {
    "SessionId": "601d963a-2f28-ec11-bae9-000d3aaca798",
    "CountryCode": "KWT"
  }
}
1. Add Google Pay™ button container
You will need to add an HTML div element like below.
<div id="gp-container"></div>2. Load Google Javascript file
You will need to load the Google Pay™ Javascript file first, as mentioned here.
3. Identify your payment processor
You need to identify the payment processor in the TokenizationSpecification message to google. Google will use these identifiers to encrypt the Payment token using the Public key of the Payment processor.
"tokenizationSpecification":
 {
    "type": "PAYMENT_GATEWAY",
    "parameters":
    {
        "gateway": "myfatoorah",
        "gatewayMerchantId": "YOUR_GATEWAY_MERCHANT_ID" // add your gateway merchant id
    }
 }
4. Define the supported payment card networks
const allowedCardNetworks = ["AMEX", "MASTERCARD", "VISA"];
const allowedCardAuthMethods = ["PAN_ONLY", "CRYPTOGRAM_3DS"];
Supported Card Networks & Authentication Methods Configuration1- Currently only allowed card networks value are: AMEX, MASTERCARD, VISA.
2- MyFatoorah supports both PAN_ONLY and CRYPTOGRAM_3DS authentication methods:
- PAN_ONLY - the card is stored on file within your customer's Google account and not bound to an Android device.
- CRYPTOGRAM_3DS - the payment credentials is bound to an Android device.
The Difference between PAN only and Cryptogram lies in the way authentication/3D Secure is handled:
- PAN Only: 3DS/Authentication is handled through MyFatoorah in the usual way.
- Cryptogram: Authentication is handled by the device, e.g. by using the devices fingerprint sensor. This is limited to Android devices, using the Google Chrome browser! All other devices and browsers will always chose PAN Only!.
5. Set the Google Pay™ environment.
const paymentsClient = new google.payments.api.PaymentsClient({environment: 'PRODUCTION'}); //value TEST for test environment6. Add Callback intents
function getGooglePaymentDataRequest() {
        paymentDataRequest.callbackIntents = ["PAYMENT_AUTHORIZATION"];
        return paymentDataRequest;
    }
7. Handle Google Pay™ Button Click.
Register for the user clicks and load the the payment sheet by calling loadPaymentData().
function onGooglePaymentButtonClicked() {
    // ...
    paymentsClient.loadPaymentData(paymentDataRequest);
    // ...
}
After the client click Google Pay button, the payment sheet will be shown.
8. Handle Pay Button Click (payment sheet)
When the client clicks pay button onPaymentAuthorized will be called with the paymentData. The paymentData will be sent to MyFatoorah in UpdateSession endpoint as token parameter.
Actions to be done to complete the payment:
1- Send the paymentData and sessionId to your server to call UpdateSession endpoint.
Please check Payment_UpdateSession.
2- When receiving success response from UpdateSession, call ExecutePayment endpoint with the SessionId to process the actual transaction.
function onPaymentAuthorized(paymentData) {
	//Send the paymentData and sessionId to your server and perform the following actions:
	//1: Call UpdateSession endpoint
	//2: If success then call ExecutePayment endpoint
}
Parameters conflictDo not pass the PaymentMethodId parameter in the ExecutePayment request and use the SessionId parameter instead. As PaymentMethodId overwrite SessionId.
The "SessionId" you receive from InitiateSession Endpoint can not be used directly in ExecutePayment Endpoint.
Updated about 1 month ago
